Hi Everyone! I’m back again today sharing another homework assignment for Altenew Academy. As you know, I’ve been busy in the Altenew Educator Certification Program, and I created this card for Seasonal Scene Building with Nichol Magouirk.
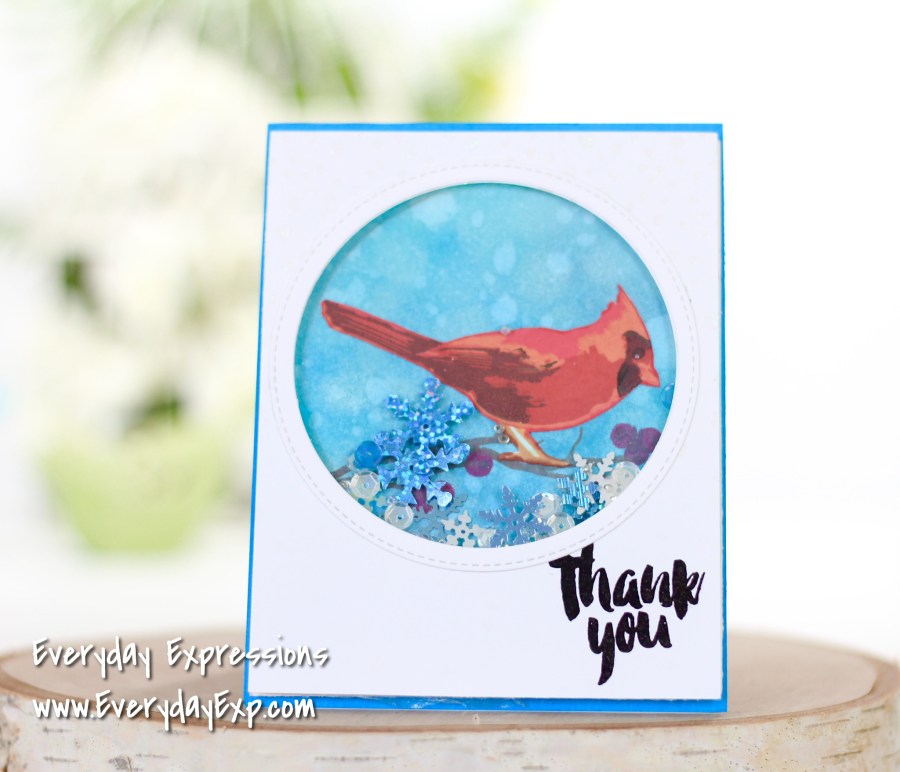
Technique: Seasonal Shaker Card
I think one of the most important aspects of building a seasonal scene is the background, because it sets the mood for the entire card. For this card, I wanted a clear, crisp winter day with a beautiful blue sky background. Nothing works better for this than Distress Oxide Inks from Ranger.
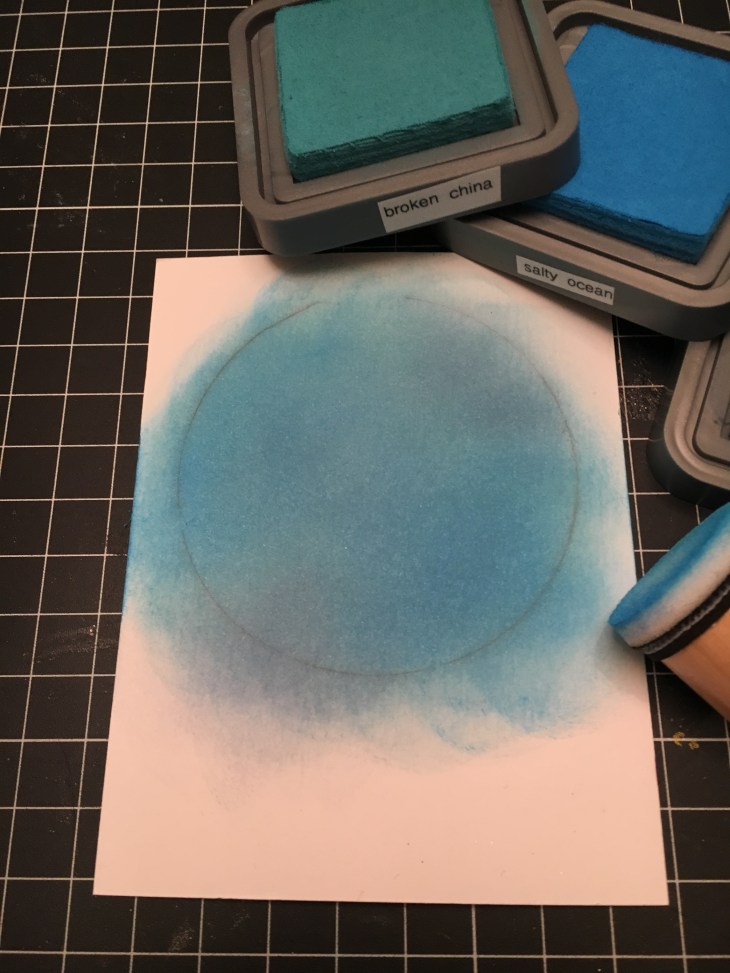
Here is a big mistake I made on this card: I used a circle die to pencil draw a circle so that I knew the area to color with ink. The problem was that after I blended the ink, I couldn’t erase the circle, and it shows slightly when you tilt the card. Ugh! Don’t do what I did! I should have just sketched a bigger area and then it wouldn’t show when my card was completed.
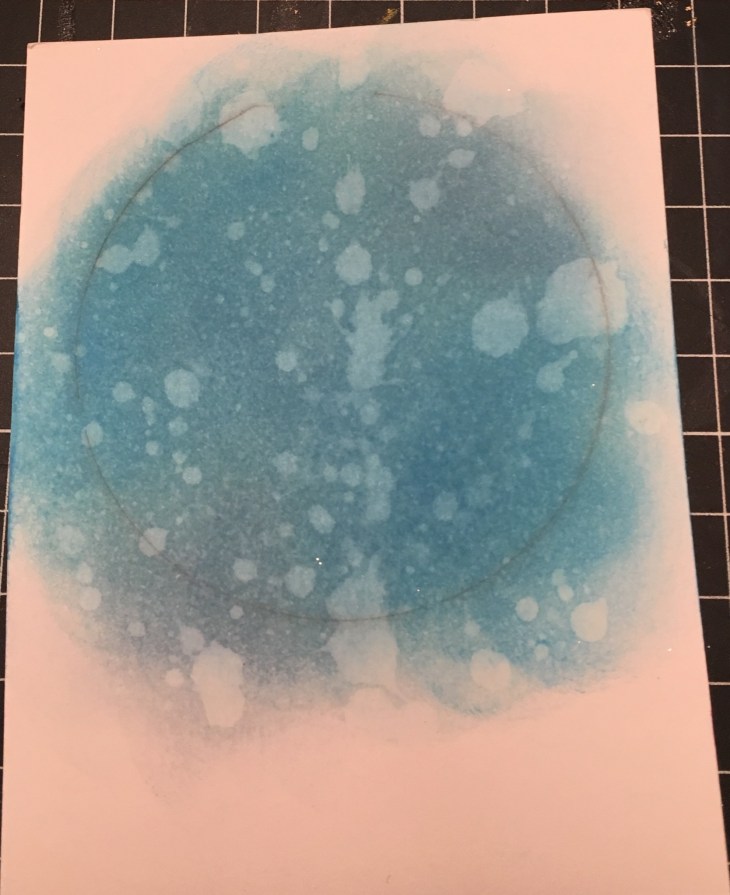
I blended Salty Ocean and Broken China with a little Faded Jeans onto a watercolor paper. Next I dribbled water over it and dabbed the excess off with a paper towel.

After drying with a heat tool, I added a little white pigment ink to soften it lightly in a bokeh wintery effect. Make sure you dry the pigment ink with a heat tool before you move on! (HERE is another card I created using Distress Oxide inks for a scenic background.)
I used Altenew inks from the Red Sunset collection to stamp the layers of the Winter Cardinal, and then I fussy cut it out. Here is another problem I had with this card: I could not find my black or white gel pens! I usually color eyes with black gel pen, and then add a white dot, but I have no idea where my pens went. Oh well, next time! Before adhering it to the card, I stamped the branch and berries onto the background.

For interest on the front panel, I heat embossed snowflakes with Altenew translucent pearl embossing powder. I used a circle die cut for the window, and taped acetate on the back. Next I tried a technique that I don’t usually use. I used a double layer of foam mounting tape to build the height for the shaker. I know many crafters use this method, but it just doesn’t work for me. I often either use craft foam or a plastic pouch and a fuse tool. Any of the three methods work, you just need to decide what works for you. I added some pretty snowflake and sequin mix I had plus some pretty blue and pearl beads.
Before sealing the card and adding the blue background panel, I stamped the thank you sentiment from Majestic Bloom stamp set with VersaFine black ink, and added a die cut circle frame for the window.
Tips:
Draw a circle bigger than the window so it doesn’t show in your final card! (See above for details!)

Use a marker that matches your dye ink color to outline images you’ve fussy cut. I did that for the cardinal, and it makes it look finished not to have white edges.
Use color to create mood for your scene. Here I used bright blues with a little white pigment ink for a crisp, clear winter day. HERE is another card I created with the same stamp set, but a gray winter sky background.
Create more interest to the scene by matching cardstock background panels, and adding touches such as the snowflakes on the front panel.
Use an anti-static tool around the inside window of the foam tape to keep your shaker sequins and beads from sticking.
Trick:
Use foam tape doubled or two layers of craft foam to build more height in your shaker cards. It allows the sequins to move and shake more freely.
So, what do you think? I love sending shaker cards! I think they are fun and festive. They can be a little work, but so worth it in the end! Love and crafty hugs!
Erin

Cute!
LikeLike
Thank you so much!
LikeLike
Beautiful shaker card, Erin!! love that you created such a gorgeous blue background for the cardinal!!
LikeLike