
Hi Everyone, and thank you so much for hopping along in today’s fun Altenew Educator blog hop! You probably arrived here from the fabulous Nicole Watt and the next stop will be the talented Teri Wilson. I am so excited to be a part of this amazingly talented group of people, and today we are all sharing ideas for using stencils in your artsy projects.
Stencil Technique #1 – Create your own stencil with a die cover
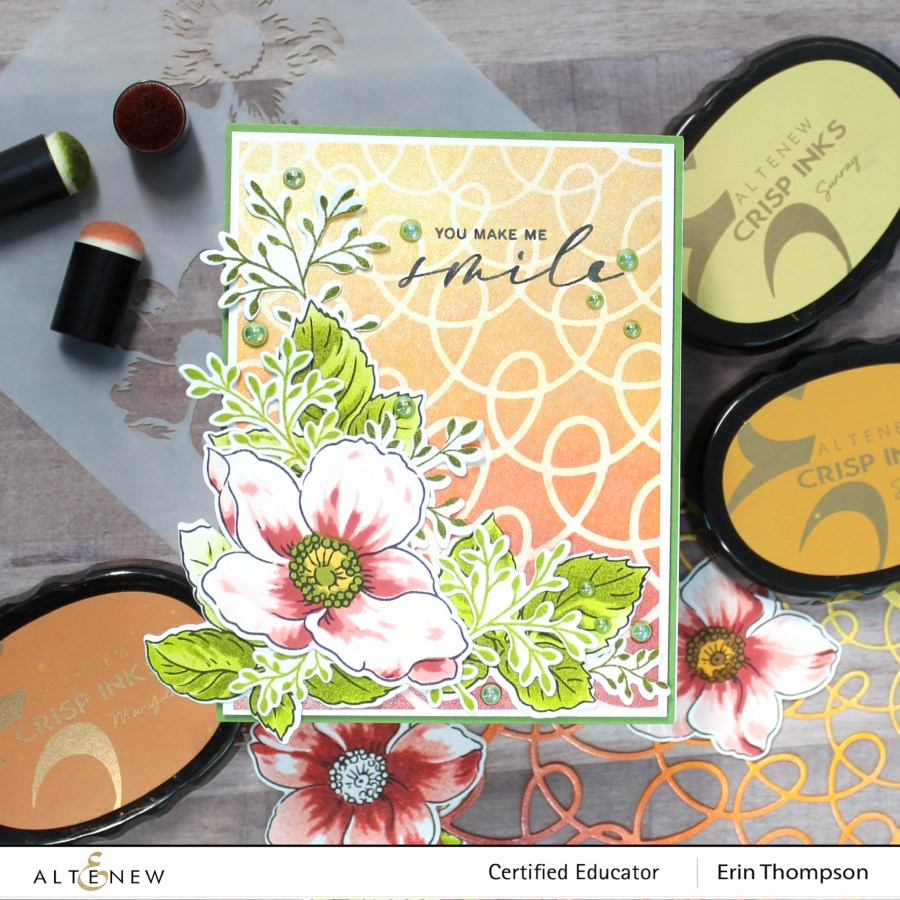
One of my all-time favorite techniques is to create my own stencil using cover dies, and I’ve used the Tangleed Loops Cover Die for today’s card. I began by cutting the die from a piece of cardstock, and then added a little repositionable tape to the back for a little tackiness. I placed the die stencil over an A2 size piece of Bristol Strathmore Smooth cardstock, and ink blended Sunray, Snapdragon, Marigold, and Velvet Crisp Inks through the stencil. After removing the stencil, I softly re-blended the Sunray ink over everything to add the hint of yellow over the masked areas.
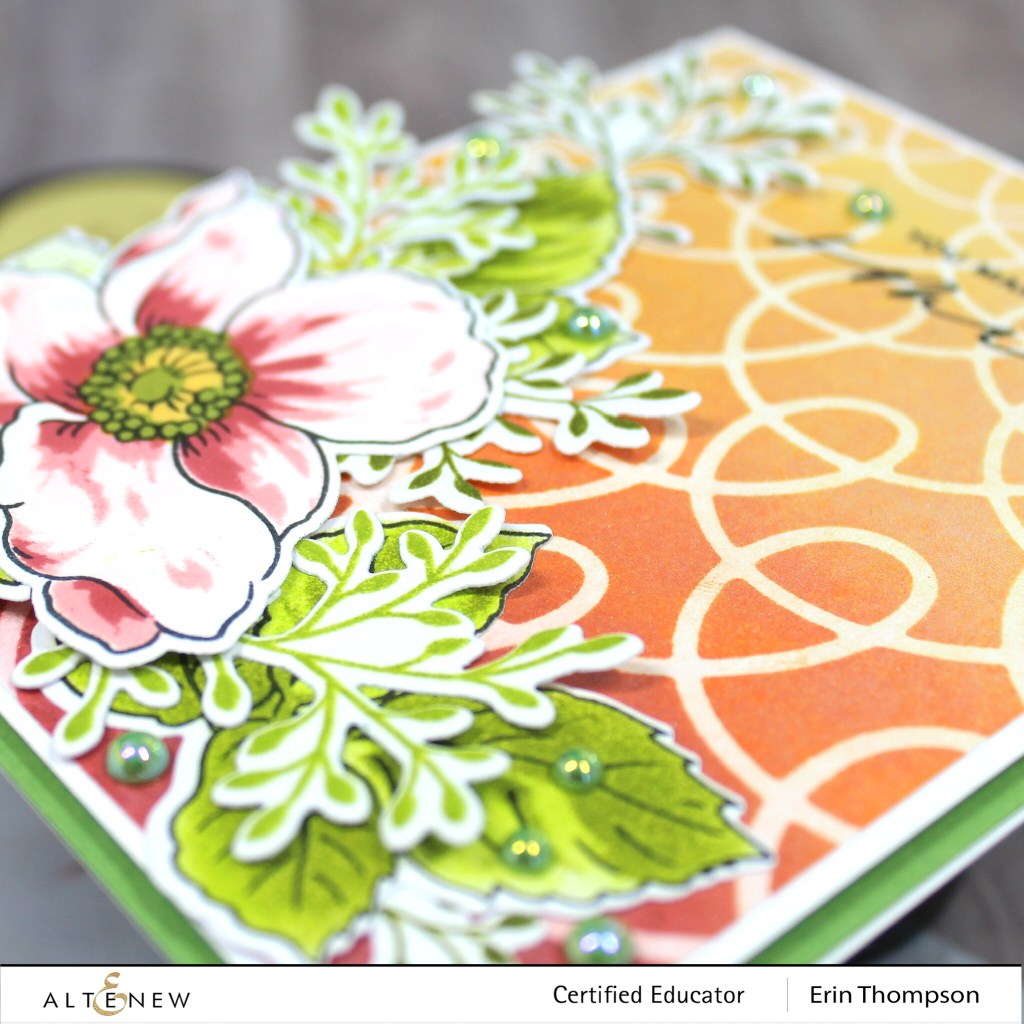
Trick: The ink stays wet for a short time on this cardstock. So after removing the stencil and reblending with the buttery yellow, I softly brush Perfect Pearls over the entire panel. Usually, you would use an embossing ink to adhere PP, but it will stick to the damp ink. This gives a gorgeous soft iridescent sheen to the card background!
Stencil Technique #2 – Altenew Layered floral stencils
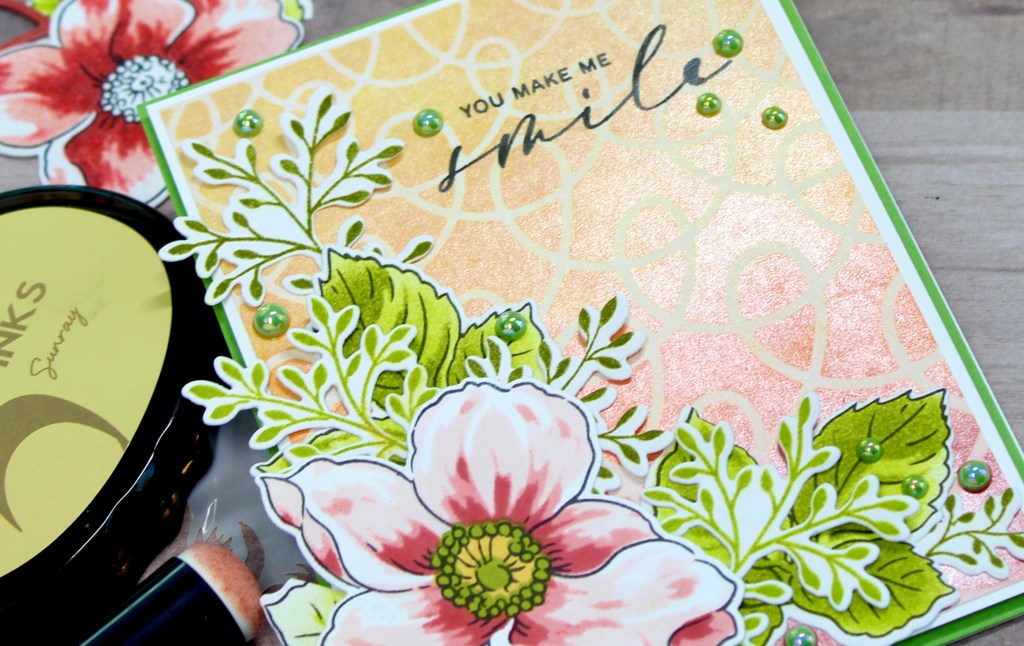
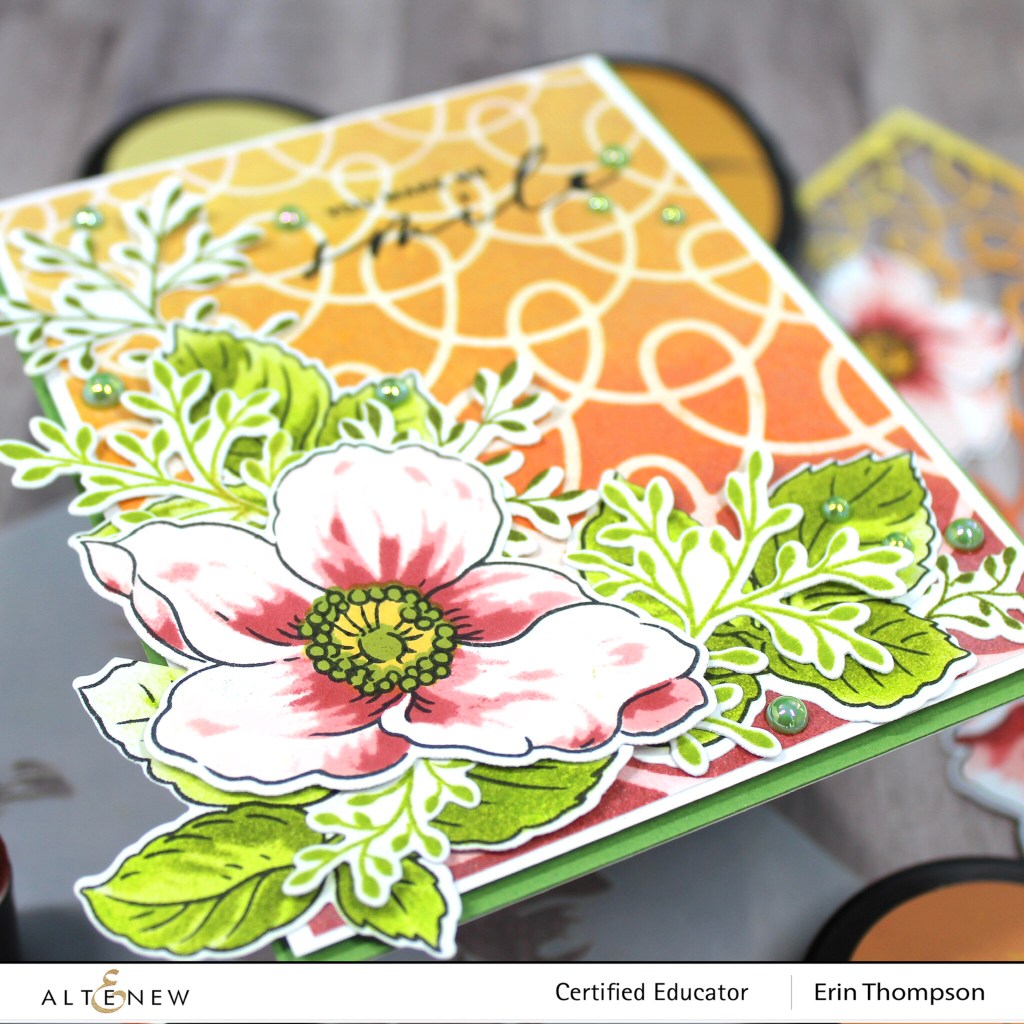
The newer Beauty Within stamp, die, and stencils set has my heart right now, and I love how these stencils create a soft layered look for the flowers. I first stamped the outline images with Permanent Black ink onto Bristol Strathmore Smooth cardstock, and then I sprayed Pixie Spray onto the back of the coordinating stencils. As you may have noticed, I went with the pretty warm colors of autumn as inspiration for this card, and so I used Blush, Rouge, and Velvet Crisp Inks for the flowers. To gently apply color through the delicate stencils, I used finger daubers, and found that I could dab with more pressure into the smaller areas to achieve the desired depth of ink color. This cardstock is a multi-media paper, and it truly took the ink very well for this technique.
Trick: The finger daubers paired with the BSS cardstock worked fabulously. I tried this with regular 80 lb. cardstock, and the paper looked like the fibers rubbed too much from the pressure of the dabbing ink. BSS did not do this, and the daubers worked well with the delicate stencils.
After inking all of the flowers and leaves, I stamped the little vines in Parrot, Olive, and Moss inks, die cut all of the pieces, added lots of dimensional foam, and adhered everything to a green cardstock background. Finally, I stamped the sentiment in Obsidian Pigment Ink, and added green iridescent pearls for a glimmery touch.
Prizes:
Altenew is giving away a $20 gift certificate to 5 lucky winners! Please leave a comment here on the Altenew Card Blog by 9/19/2020 for a chance to win.
We’ll also draw a winner to receive a $15 Altenew gift certificate from the comments left on each designer’s blog on the blog hop list below. All winners will be announced on the Altenew Winners Page on 9/22/2020.
There’s MORE! We will pick 2 of our favorite handmade creations from those who joined the linky party and they will each receive a $15 Altenew gift certificate!
Hop list:
Thank you so much hopping along today, and don’t forget to link all of your own stenciled creations for more chances to win! Love and artsy hugs!
Erin
Altenew Products Used: (aff. links)
Other Products Used: (aff. links)

Moss Green, Studio Katia Pearls

Strathmore Bristol Smooth Pad 9 X 12


WOW what a GREAT idea … I will have to give that a try! Your card is beautiful and LOVE that flower … gorgeous! Thanks for inspiration!
LikeLike
Beautiful card! I like the idea of creating your own stencils with the cover dies! So clever!
LikeLike
Beautiful card! 😊 The flowers layered with the stenciled background perfectly! Thanks for the inspiration, & tricks!
LikeLike
Beautiful card. I’ll have to try that technique with the perfect pearls
LikeLike
Absolutely stunning, Erin! I am loving the Beauty Within Stamp too, so gorgeous! And the leaves in this set are wonderful! Thank you for being part of the hop 🙂
LikeLike
Such a lovely card. Like that you made your own stencil for the background. Thanks for the tips about using perfect pearls and Bristol smooth cardstock. Thanks, too, for the great inspiration!
LikeLike
Beautiful card! Love the colours, stenciled background & layered flower! Everything came together beautifully
LikeLike
Love all your pink and green layers, Erin! The simple coloring stencils are so cool!
LikeLike
Wow! This is beautiful and a little bit fun with the loopy lines. Great idea to finish with the sheen of perfect pearls.
LikeLike
Love the card and love the perfect pearls glow… so pretty
LikeLike
Very beautiful card, Erin. I love the idea of using cover dies for creating stencils.
LikeLike
These are beautiful!! I love taking a coverplate and making a stencil out of it!!
LikeLike
Such a pretty card! I love how you made your own stencil, then brushed with perfect pearls. Thanks for the tip on the BSS. I love the stamp, where you can color it with stencils. I can’t wait to get that one.
LikeLike
Thanks for sharing your ‘tricks’, love your cards!
LikeLike
Beautiful card. Thanks for sharing
LikeLike
Goodness, your background is stunning. Love that idea.
LikeLike
A magnificent card! Lovely! I love the colors. Thank you for the information on the Bristol paper.
LikeLike
I did not know I could use a die to make a stencil. Awesome card and thank you for these tips
LikeLike
Gorgeous card! Thanks for the tip on using the finger daubers to intensify the flower centers, they turned out beautiful.
LikeLike
Beautiful card. I love the trick with the perfect pearls, it makes such a difference. Thanks for sharing Erin.
LikeLike
So very pretty! Love the perfect pearl sheen and those lovely moss green pearls add another special touch to your stunning card.
LikeLike
What a lovely card Erin, I especially love your color combo, so pretty!
LikeLike
Beautiful card. Thank you so much for sharing.
LikeLike
Gorgeous card, Erin! I love how you used the perfect pearls. Thanks for the excellent tip!
LikeLike
Gorgeous card! I love the colors you used. What a great idea to use the die cut as a stencil! Those moss green pearls are going on my list!
LikeLike
Gorgeous card! Great inspiration!
LikeLike
Gorgeous!
LikeLike
Thanks for sharing.
LikeLike
I love the idea of using cover dies for creating stencils. The card turned out very pretty. TFS
LikeLike
By far your most beautiful card ever. This card is stunning.
LikeLike
I LOVE this background! Perfect for the floral!
LikeLike
So beautiful! 💜
LikeLike
Beautiful card! Love the use of the stencil!
LikeLike
Lovely! A video would be really nice.
LikeLike
Wow! Beautiful design! I love the addition of Perfect Pearls in the background- gorgeous!
LikeLike
Beautiful card, brilliant idea to create stencil with awesome cover die and the perfect pearls are soooo pretty too!
LikeLike
Your card is absolutely gorgeous. I love the Perfect Pearls. This is a wonderful stencil.
LikeLike
Oh my gosh…that is absolutely brilliant! I would have never thought to use a cover die as a stencil! I may just do that today! So gorgeous!!!
LikeLike
I love creative projects that let us crafters use our Altenew products in new ways!
LikeLike
Beautiful card! I love the background and flower! Lovely colors!
LikeLike
Such a gorgeous card! Great background and stunning floral coloring and layering!
LikeLike
I love this gorgeous card! Thanks for the great Perfect Pearls tip as I will be trying that one soon.
LikeLike
Beautiful card…colors, techniques, they all work so well together. TFS the idea to use a die as a stencil.
LikeLike
This is a gorgeous card!
LikeLike
It’s so beautiful!!!
LikeLike
Great combination. I like the addition of the pearls powder. I would like to try the layered florals.
LikeLike
What a beautiful card! So many lovely details! Thanks so much for sharing how you made this gorgeous card.
LikeLike