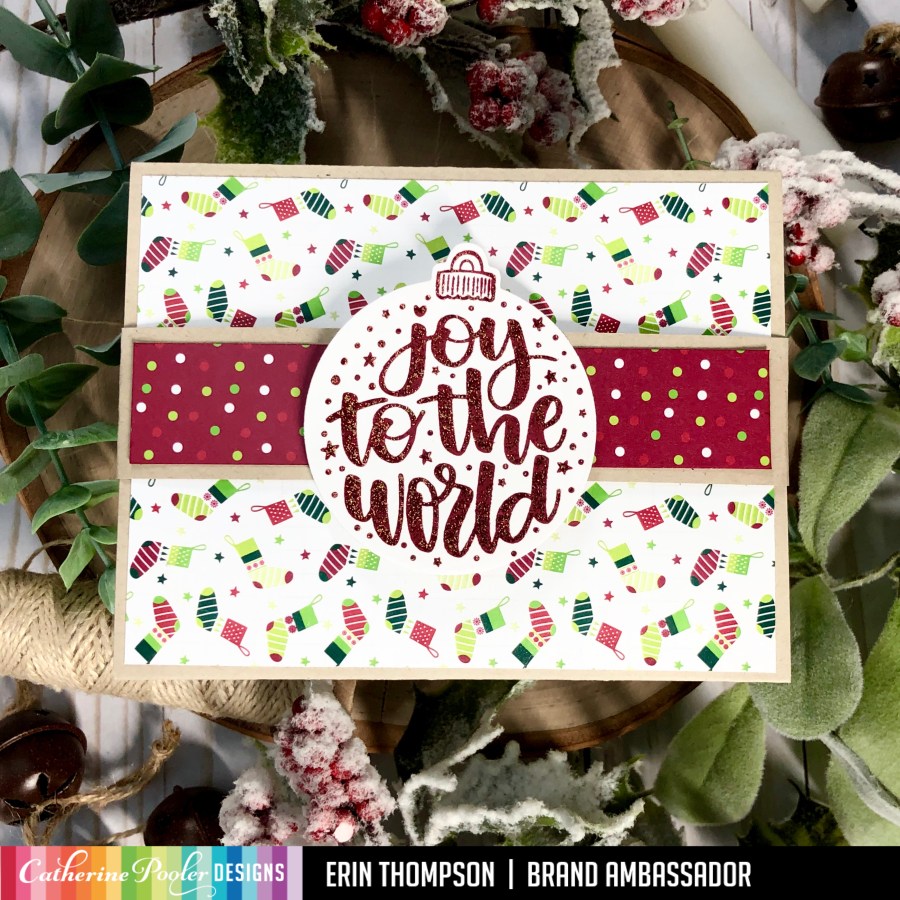
Hi Crafty Friends! I hope you and your loved ones are safe and healthy. Today I’m sharing a fun gift card holder with the new Catherine Pooler Caroling Sentiments stamp and dies set paired with pretty All Wrapped Up patterned paper.
Card Base and Belly Band
I began by cutting a piece of Neenah Desert Storm cardstock 5.5″ x 8.5″ and scored at 2 1/8″ and 6 3/8″ to create a gatefold card. Then I cute two pieces of patterned paper at 5 1/4″ x 1 7/8″, and adhered to the front of each gatefold flap.
Next I created a belly band to hold the card together by cutting a strip of Neenah DS cardstock 1″ x 11″, scored at 2 3/4″ and 8 1/4″, gently folded the flaps in, and adhered patterned paper cut at 1″ x 2.5″ to each of the front flaps.

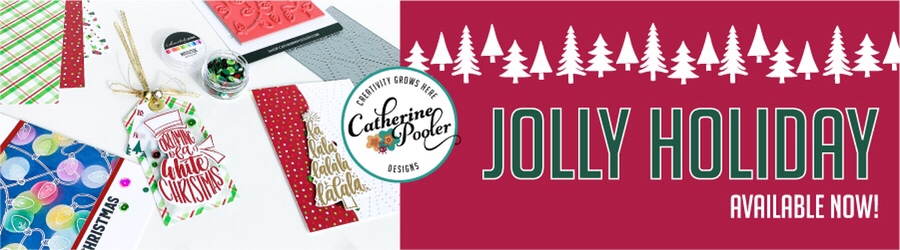
I finished the belly band by stamping the ornament from the stamp set in new Cranberry Fizz ink in the MISTI on CP white cardstock, stamped it again with WOW embossing ink, and heat embossed with Wanderlust embossing powder. Then I die cut the ornament, and added a small piece of foam tape to each belly band flap. I gently wrapped the band around the card base to insure it fit snug but not too tight and burnished the folds with a bone folder. Finally with the card base tucked into the belly band, I centered the ornament, and pressed it to adhere it to the belly band flaps with the foam tape.

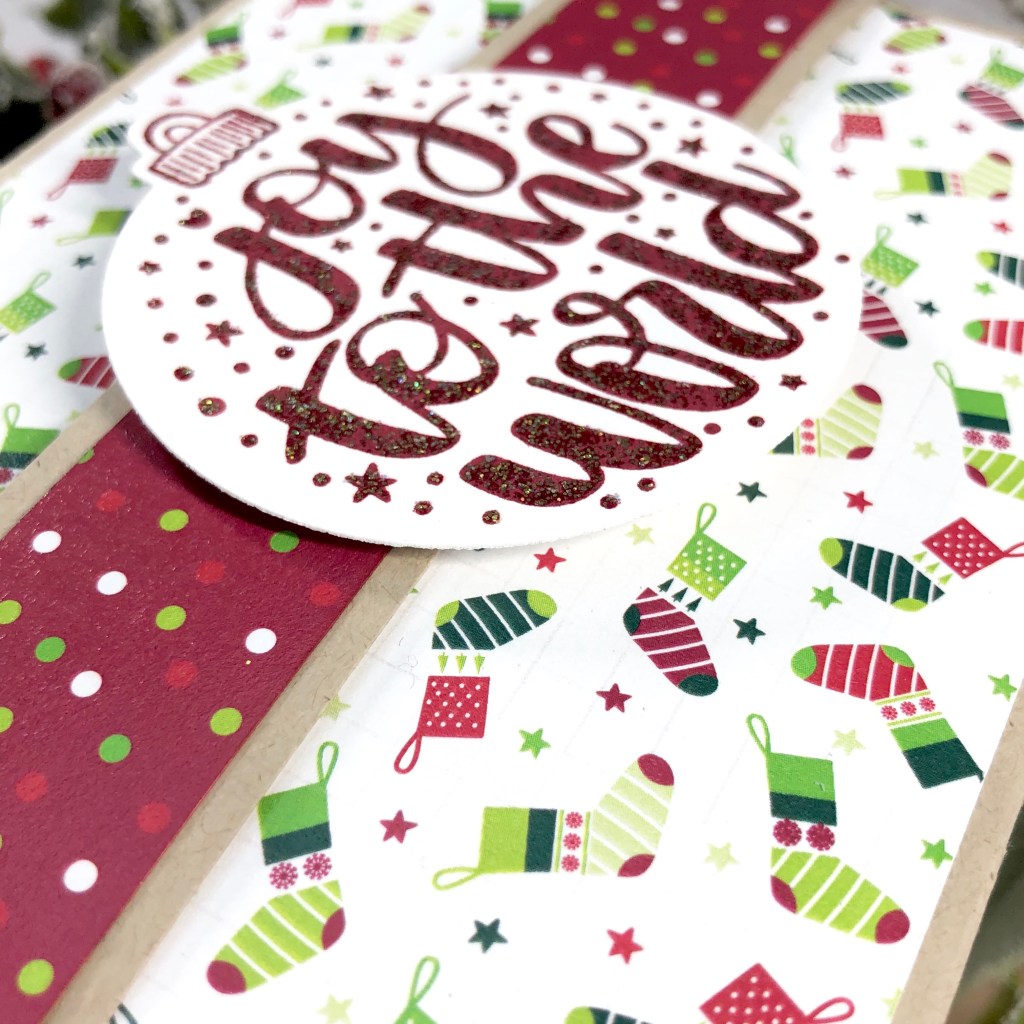
Inside of Card and Gift Card Holder
Cover the inside smaller flaps with patterned paper cut to 5 1/4″ x 1 7/8″. Then cut a piece of white cardstock to 5 1/4″ x 4″ and set aside. Next cut a piece of NDS to 4.5 x 1 3/4″, score the long side at .5″ and 4″, rotate and score at .5″. Miter the scored corners, lay the cardstock flat, and add 3/8″ Scor Tape to the scored little flaps. Remove the tape from the long bottom flap, align to the center bottom of the white cut cardstock and adhere. Remove the side flap tape strips, fold in and adhere to cardstock. Cover the gift card pocket with patterned paper cut to 3 1/4″ x 1″. Finally, use the fun little stamps in the set to decorate the background in coordinating colors, and add a little sentiment.
There you have it! All of the cutting, scoring, and taping sounds difficult, but once you try it then you will find it is actually pretty easy. Now all you have to do is add the gift card, sign the card, tuck the belly band over it, and put it in a pretty envelope! I hope you try this for your holiday card-making. Love and crafty hugs!
Erin
Catherine Pooler Products Used: (aff. links)

Your cards are always so creative and beautiful! I can’t wait to CASE this one.
LikeLike
Thank you bunches, Diane!
LikeLike
You always make beautiful cards!
LikeLike
Love it👍🏻💕💕💕
Sent from my iPhone
>
LikeLike