
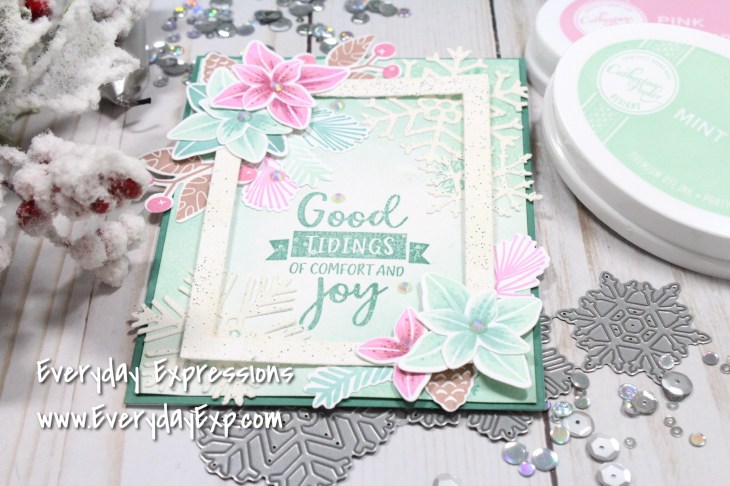
Hi Everyone, and welcome back! I am excited to share this card that we created together during last week’s Facebook Live using several Catherine Pooler products and inks. I am thrilled with how this turned out! Minty green and pink is one of my favorite holiday color combinations right now, and all of the layers with the stamped and die cut images create a dramatic effect. What do you think?
Below is the link to the Facebook Live video:
I began by die cutting the Snowflake Trio Dies from white cardstock, but I didn’t remove them from the cardstock as it is easier to emboss while the cuts are still in place. I covered them with VersaMark Ink, covered with a snowflake tinsel embossing powder, and heat set it. Then I removed the snowflakes from the cardstock. See? Much easier than trying to emboss delicate snowflakes.

Then I gently blended Mint To Be ink along the edges and around a 4″ x 5.25″ panel of Bristol Strathmore Smooth cardstock, and stamped a couple of snowflakes from Build a Snowman stamp set in Mint To Be on the card. Then I glued the embossed snowflakes on two corners.
I stamped all of the Boughs and Berries set with Mint To Be, Pink Champagne, Skylight, and Sand Castle Catherine Pooler Inks. Here is the trick to adding dimension to one-layer stamped images: I used a Zig blender pen and darker shades of ink to add shading and dimension. (Thank you Catherine Pooler for demonstrating this awesome trick!) For instance on the Mint To Be stamped flowers, I tapped the blender into Skylight and gently flicked color onto the petals (similar to a Copic coloring flick). Then I carefully tapped Skylight dots onto the petals for added interest. I followed the same technique on flowers stamped in Pink Champagne, but added shading with Rose Petals and Sangria inks. Finally, I glued the smaller flowers onto the larger flowers for even more dimension.
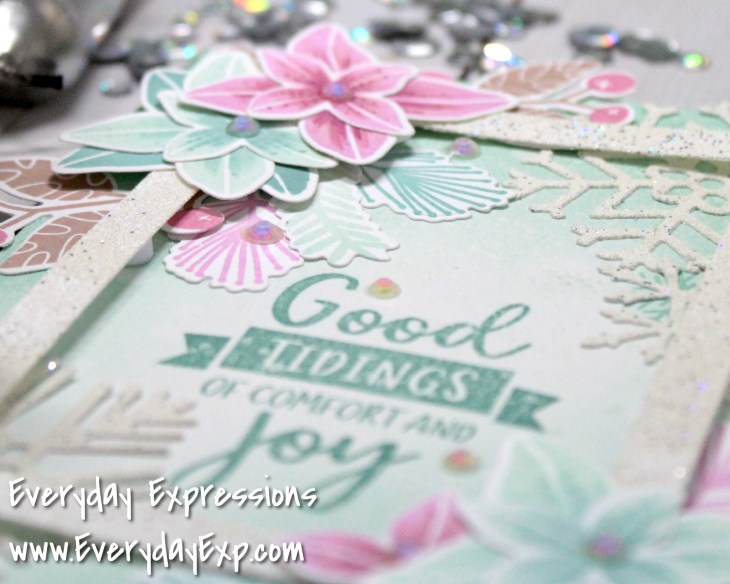
Next I die cut the large Chalkboard Frames die, embossed with the tinsel embossing powder, and placed over the background just to decide how I would design the layout. Once I decided where my sentiment would be stamped, I removed all of the die cut pieces, and stamped it in Skylight using my MISTI. Special Note: I had gotten glitter from the embossing powder on my stamp, and, no matter how I tried to clean it, could not remove all of the glitter from my stamp. So my stamped sentiment does not look perfect, and it is not the fault of the ink or the stamp. Note to self in the future: Keep the glitter and embossing powder contained! (Easier said than done.)
Finally, I blended Skylight ink around the edges of an A2 piece of Neenah cardstock to create a background on my card base, and taped it down. Next I taped the primary panel over the background, added foam dots around the chalkboard frame (but left space to tuck die cut pieces under the frame when needed), and adhered it to the card. Then I glued all of the Boughs and Berries pieces with Gina K Connect, and added iridescent jewels from Little Things From Lucy’s Closet as a final touch.
So there it is! I just love this card! Do you love it as much as I do? What is your favorite holiday color combination? Love and crafty hugs!
Erin
Catherine Pooler Designs Products used:

This is a beautiful card.
LikeLike
Thank you! I love how it turned out!
LikeLike