Hi Everyone! I hope you are resting and still enjoying the holidays! Today I have some cards I shared in last week’s live Facebook demo, and they were inspired by the amazing Kristina Werner‘s recent Ink Blended Emboss Resist post from her Holiday Card Series. (You can find her tutorial HERE.)

The first layer of ink does not need to look perfectly blended. Just lay down a light layer of ink.
Here is the video link on my Facebook page:
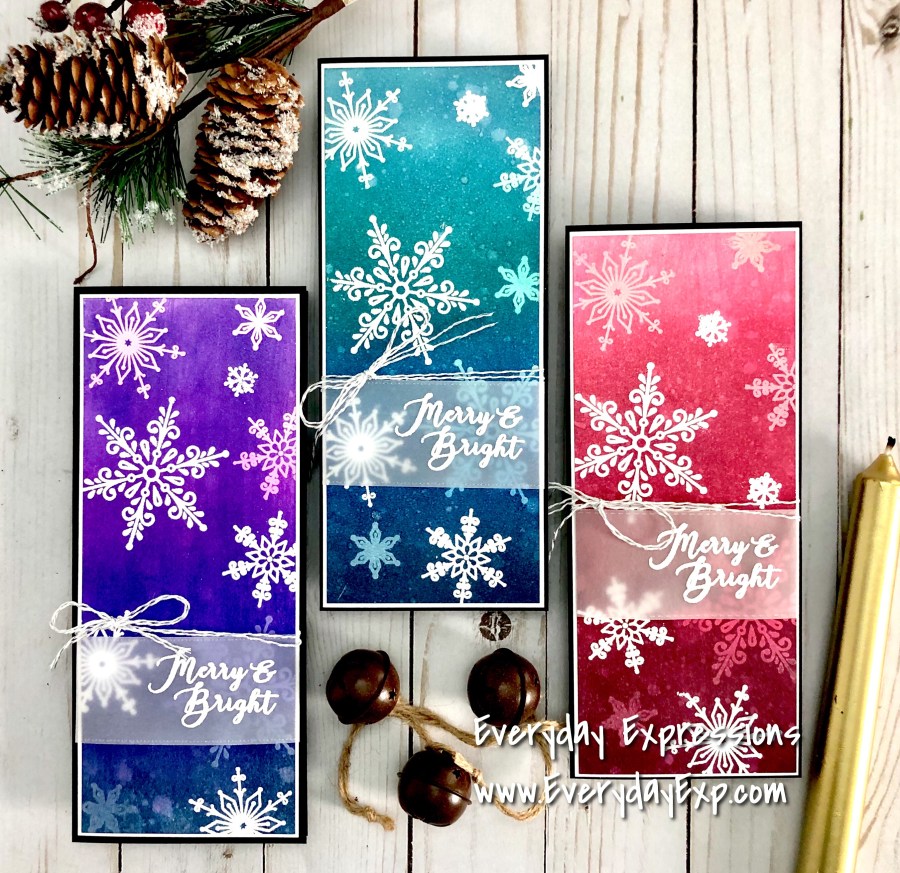
You guys know how much I love Catherine Pooler inks, and they blended beautifully on Bristol Strathmore smooth cardstock to create these slimline cards. Card one color combo: Mint to Be, Aquatini, Suede Shoes, and Juniper Mist. Card two colors: It’s a Girl, Rose Petals, Party Dress, and Sangria. Card three combo: Pixie Dust, Flirty Fuchsia, Queen For a Day, and Juniper Mist. Also, I tried some inexpensive makeup sponges from Amazon for the ink blending on these cards, and I loved how well they worked. I will definitely buy more of these for times that I want to apply a lot of ink quickly.

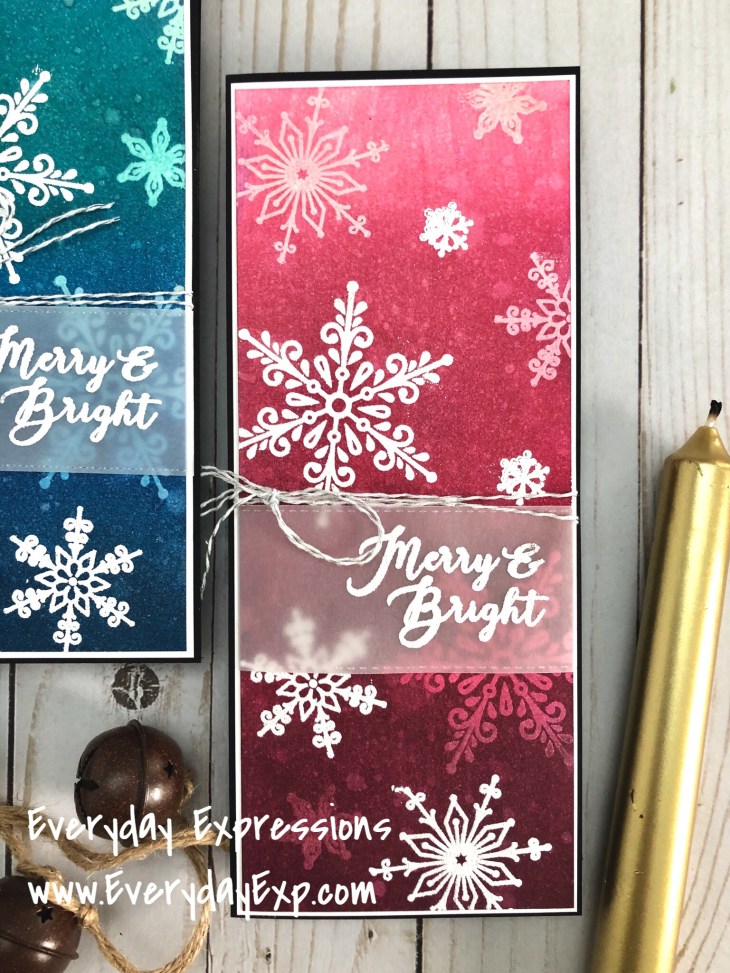
I cut the cardstock into panels 8.75″ x 3.5″ and began by softly blending the ink colors lightest to darkest. Then I dried the panel with a heat gun to insure the ink was dry before embossing. Next I stamped five snowflakes from the Catherine Pooler Designs Peaceful Flakes stamp set with Wow embossing ink, and then heat embossed with clear embossing powder.

I heavily blended the inks over the heat embossed snowflakes, and gently removed the ink from the embossed snowflakes by rubbing with a dry paper towel. I dribbled water over the panel, lifted it with a paper towel, and again dried it with a heat gun. I added a third layer of ink to soften the water spots and dried it again. Finally, I added Imagine Crafts’ Shimmer Spritz for an extra layer of sparkle, and allowed it to dry completely.
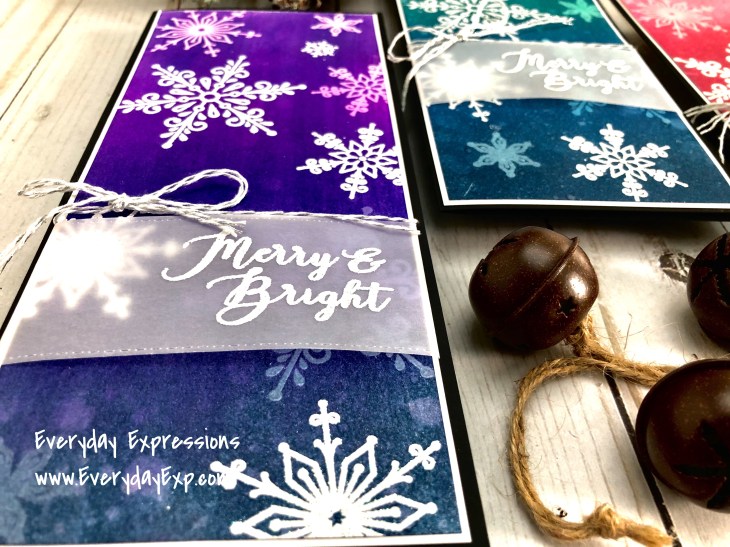
I heat embossed another round of stamped snowflakes with Wow embossing ink and Wow Sparkling Snow embossing glitter from Catherine Pooler. Then I used a stitched vellum flag, and heat embossed it in sparkling snow with the Merry & Bright sentiment. Next I added a white panel behind the inked one, wrapped the vellum around both, and added a twine bow before adhering it to a heavy black cardstock slimline card cut to 9″ x 3.75″.
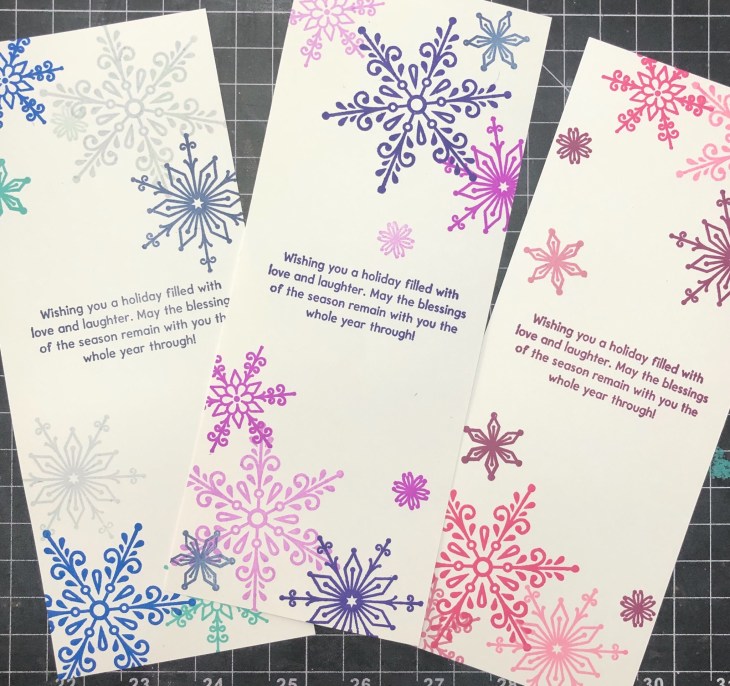
I finished the inside of the card by stamping white cardstock with a sentiment from The Greetery’s Sentiment Suite Christmas set, and added snowflakes stamped in coordinating ink colors. (Isn’t it difficult to find sentiments for the inside of cards? I love that Betsy thought of this when planning this Christmas stamp set!)
So what do you think? I love how these cards turned out! The snowflakes pop off of the gorgeous ink colors. Thanks to Kristina Werner for the fabulous demo and inspiration! Which color combination is your favorite? Love and crafty holiday hugs!
Erin

Beautiful colors. Love the blue green one.
LikeLike
Thank you so much! I can’t decide which is my favorite!
LikeLike
Entered ” slimline cards” into Pinterest search box and these are absolutely gorgeous!!! I have lots of snowflake stamps and a bunch of Tim Holtz Distress Oxide inks that would work for the background colors.
Thanks so much for sharing and inspiring me!
LikeLike
Yay! I’m so glad you found some inspiration in my cards! Thank you so much for stopping by my blog!
LikeLike